Category: Uncategorized

  • Installing Xilinx ISE 14.7 on a Silicon Mac

    Installing Xilinx ISE 14.7 on a Silicon Mac

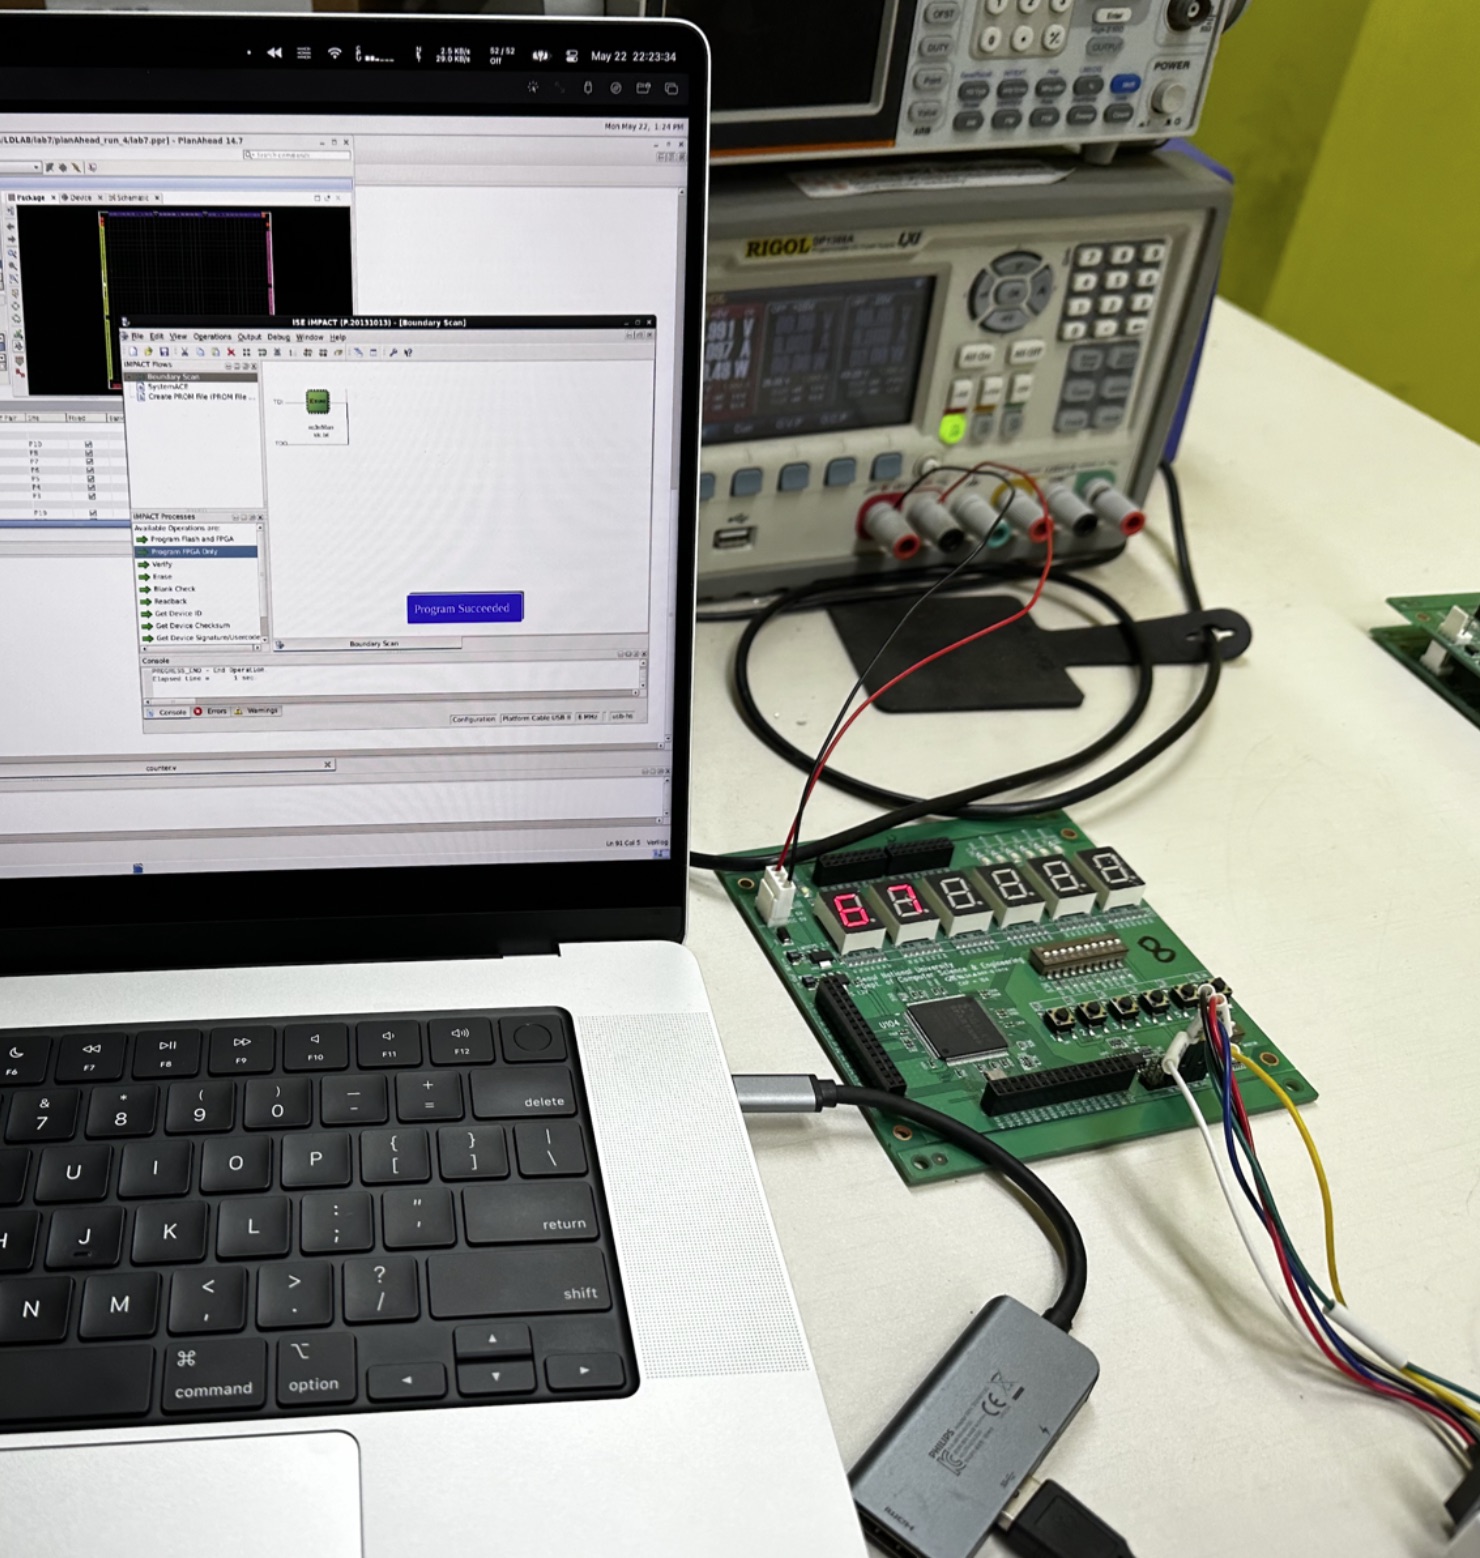
    I wrote a brief manual to make the VM work for someone like me who owns an arm mac, using QEMU(UTM) x86 emulation. Make & Spike also works, and I was able to solve Task 1 on UTM. The performance is great but may depend on the host machine.

    Preview

    Perquisites

    1. UTM (link)
    2. QEMU tools, install using brew with the command: brew install qemu
    3. Download the Xilinx ISE Webpack for Windows
    4. Unzip the file, then locate ova/14.7_VM.ova (you might have noticed, the install package is literally a VM)

    Prepare

    1. Unarchive the ova file. tar -xvf 14.7_VM.ova.
    2. You will have 14.7_VM-disk001.vmdk, which is a virtual disk. It should be much bigger than the original ova file.
    3. Convert the image with the command: qemu-img convert -O qcow2 14.7_VM-disk001.vmdk data.qcow2

    Making the VM

    1. Use UTM to make a emulation VM. Click on the plus icon and select emulate.
    2. Select other and click “Skip ISO boot”
    3. Modify the CPU & Memory. I’m using 8 and 16 each, but you may change it depending on the host machine configuration. I recommend at least 4cpu, 8gb.
    4. The disk size can be just 1GB. It will be later switched to the qcow2 file we made earlier.
    5. No shared settings
    6. Right-click the created VM and click “Show in Finder”. Then right-click the .utm file and click “Show Package Contents”
    7. In ./Data, there should be a (Some Filename).qcow2 file. Copy the exact name, then delete it.
    8. Copy-paste the data.qcow2 file we made earlier while preparing, then change the name to the text you copied. It’s basically swapping the actual disk.

    Now, the VM is basically set, but yet unusable due to lack of performance.

    Extra Settings for Performance

    1. In System, set CPU to “qemu64″
    2. In System, enable “Force Multicore”
    3. In System, enable “Balloon Device” and “RNG Device”
    4. In QEMU, disable “UEFI Device”
    5. In Display, change the Display card to virtio-vga-gl (GPU supported), or Spice QXL GPU (primary, ...). The former yields better performance while the latter provides better resolution for retina displays.
    6. In Drives, change the interface to virtio which allows better performance
    7. Note that, the boot process takes a while.
    8. Also be aware of the “pause” feature. Using Spice QXL, you can now pause VMs and resume whenever you want.

    What you can do with this

    1. You can run test benches, use iMPACT, capture waveforms, just everything we learnt from LDLAB. Every functionalities of the Xilinx ISE 14.7 should work, theoretically.
    2. If you want to program FPGAs, you can by passing-through the USB connection directly into the VM.
    3. RHEL is an old OS. Nothing is supported. You may install Firefox ESR, but I suggest just using Safari from the Host OS. Setting up Spice allows you to share the clipboard.
    4. As I remember, I had to do some licensing (from AMD Xilinx) to use those tools. As far as I know this licensing problem isn’t exclusive for macs, but for all individual users. The licensing is free via Xilinx but it took some time to figure it out. (like keygen and copy-paste)

    This manual is a copy of a internal document we shared with my colleagues – during a school coursework about computer architecture. Originally authored in 2023.

  • Using a RTX GPU in a Dell PowerEdge R740 Server: What You Need to Know

    Using a RTX GPU in a Dell PowerEdge R740 Server: What You Need to Know

    TL;DR

    If you’re planning to install an RTX GPU into a Dell R740 or similar 2U server, you should keep in mind:

    • Card Size: Keep it within strict 2 slots and ~112mm in width.
    • Power: Aim for GPUs under 300W TDP (you can restrict power if needed)
    • Bigger GPUs? Get ready to saw the air shroud and possibly remove Riser 2
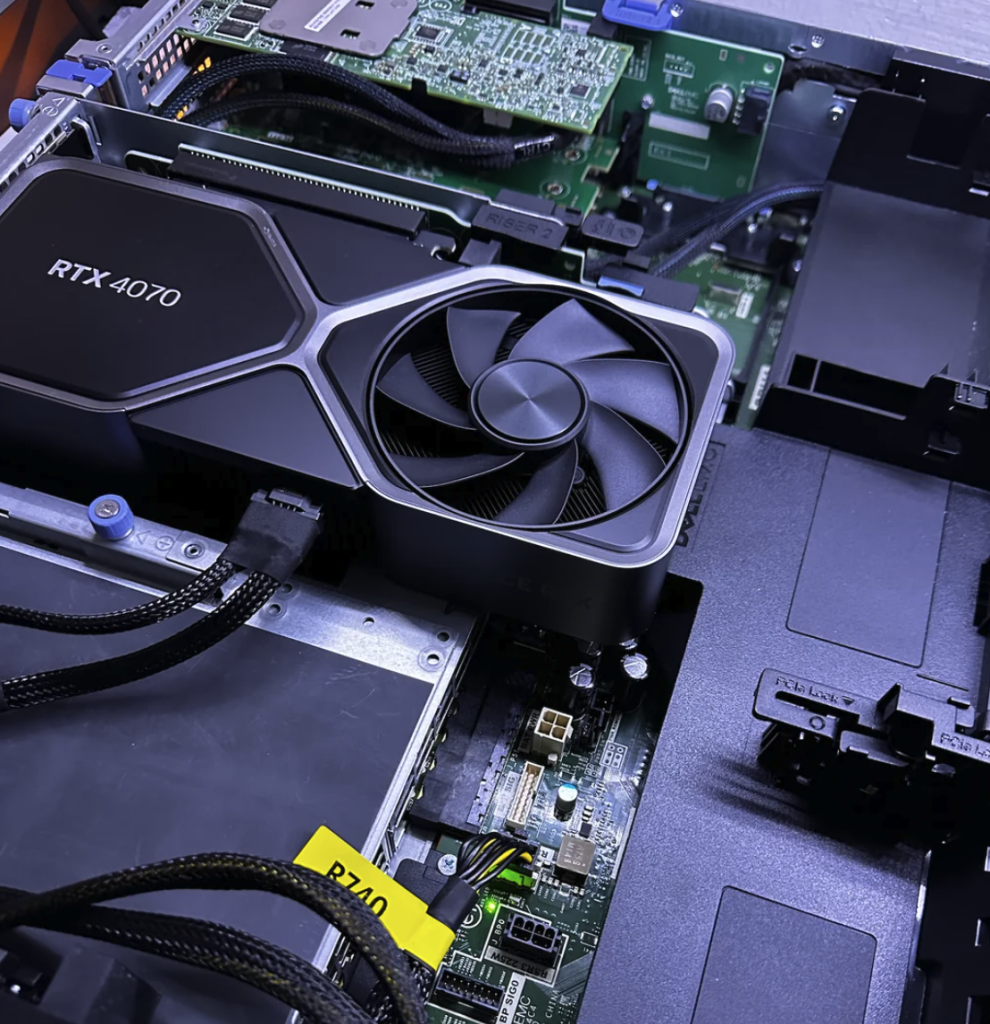
    • Performance: Tested RTX 4070 FE + Xeon Gold 6130 x2 + 128GB RAM ran Battlefield 2042 in 4K Ultra at 50–60 FPS (with DLSS) via Moonlight.

    Why I Did This

    Thanks to the amazing communities over at r/homelab and r/sffpc, I decided to give my R740 server a GPU boost using an NVIDIA RTX 4070 Founders Edition. Here’s a breakdown of everything I learned—what works, what doesn’t, and how to avoid the major pitfalls.


    1. Choosing the Right GPU

    Dell’s R740 supports up to 300W per PCIe GPU (75W from the slot + 225W from the cable). Here are a few things to keep in mind:

    • The RTX 4070 Ti runs close to the limit at 285W.
    • If you need more power, you could experiment with extra PCIe power lines or even an external power supply—but YMMV.
    • I went with NVIDIA because I’m using Proxmox VE and need CUDA support. AMD cards might work, but QEMU PCIe passthrough success stories are rare.
    • Blower-style GPUs are nearly extinct. While you can get 4070–4090 blowers, they’re often absurdly expensive and no longer officially supported by NVIDIA, and only sold from suspicious sellers.

    2. Fitment: Size Matters

    Want a smooth install without modding your server?

    • Stick to 290mm (L) x 42mm (H) x 112mm (W) or smaller.
    • Note: many RTX GPUs have the power connector right in the middle, which may force you to bend the cable harshly or use a 90-degree power connector.
    • If you’re okay with modding: removing the upper section of the air shroud can give you room for up to 300mm cards. Note this is a non-GPU shroud, whereas the GPU shroud might have to be completely removed, as they tend to extend longer towards the rear of the chassis.
    • Bigger than 2-slot width? You’ll lose airflow shrouding and only be able to use Riser 1. This also affects where you can run your power cables.
    • The height must not exceed 112mm. There is a small wiggle room, yet most modern gaming GPUs won’t fit.

    3. GPU Passthrough on Proxmox

    Passthrough worked perfectly using The Ultimate Beginner’s Guide to GPU Passthrough.

    I experienced minimal performance loss, likely due to older CPUs. Still, it’s good enough to run Battlefield 2042 on Ultra Settings (4K) with DLSS, hitting 60 FPS through Moonlight on my MacBook’s 4K 60Hz display. Generally, even with virtualization the performance loss is within expectation.

    If you’re thinking of going AMD: beware. I found tons of unsolved [HELP] threads, especially for RX 7000 series cards.


    4. Controlling Those Loud Fans

    From 14th Gen Dell servers onward, and if you’re running iDRAC v3.30.30.30 or higher, IPMI won’t work. Here’s what you can do:

    • Use: racadm set System.PCIESlotLFM.<#>.LFMMode disabled Replace <#> with the PCIe slot number (1 to 7).
    • This disables only the third-party fan response—your fans will still spin up a bit due to airflow interference.

    Want full control? You’ll need to downgrade iDRAC to v3.30.30.30 and use IPMI commands. More on these topic on this Dell community thread.

    Also, while testing my R7525 for other purposes, I found out that using Standard / Silver fans instead of Gold ones (which are required for GPU-enabled servers) has no issues with iDRAC / Dell whatsoever. If the fans ramping up is making you crazy, you may simply buy low-power standard fans and swap them out. Btw, for R7525 I had to use an angle grinder to make cuts on the BOSS-S2 carriage. More on this on a separate post.


    5. Power Cables You’ll Need

    Search for the Dell 0TR5TP power cable. There’s a version with dual (6+2)-pin connectors too—handy for modern GPUs.


    Recommended GPUs That Fit

    Confirmed working / should fit:

    • ✅ NVIDIA RTX 4070 (SUPER) FE
    • ✅ NVIDIA RTX 4060 Ti FE
    • ✅ Most blower-style cards (even RTX 4090s, physically fits)
    • ✅ Small form-factor RTX 4060s or lower

    Might Work (Check Dimensions):

    • ⚠️ Inno3D RTX 4070 Twin X2
    • ⚠️ Inno3D RTX 4070 Ti X3
    • ⚠️ Gigabyte RTX 4070 Ti Windforce
    • ⚠️ Gigabyte RTX 4070 Ti Eagle V2
    • ⚠️ Other ~270mm cards around 110mm

    For a comprehensive compatibility guide, check out this SFFPC GPU Size Spreadsheet (courtesy of r/sffpc).


    Final Thoughts

    Putting a modern RTX card into a rackmount server isn’t as wild as it sounds—it just takes planning, maybe a little modding, and the right community advice. If you’re looking to transform your homelab into a hybrid gaming-and-virtualization beast, I can say this build is 100% worth the effort.

    Happy tinkering! 🔧🖥️🎮